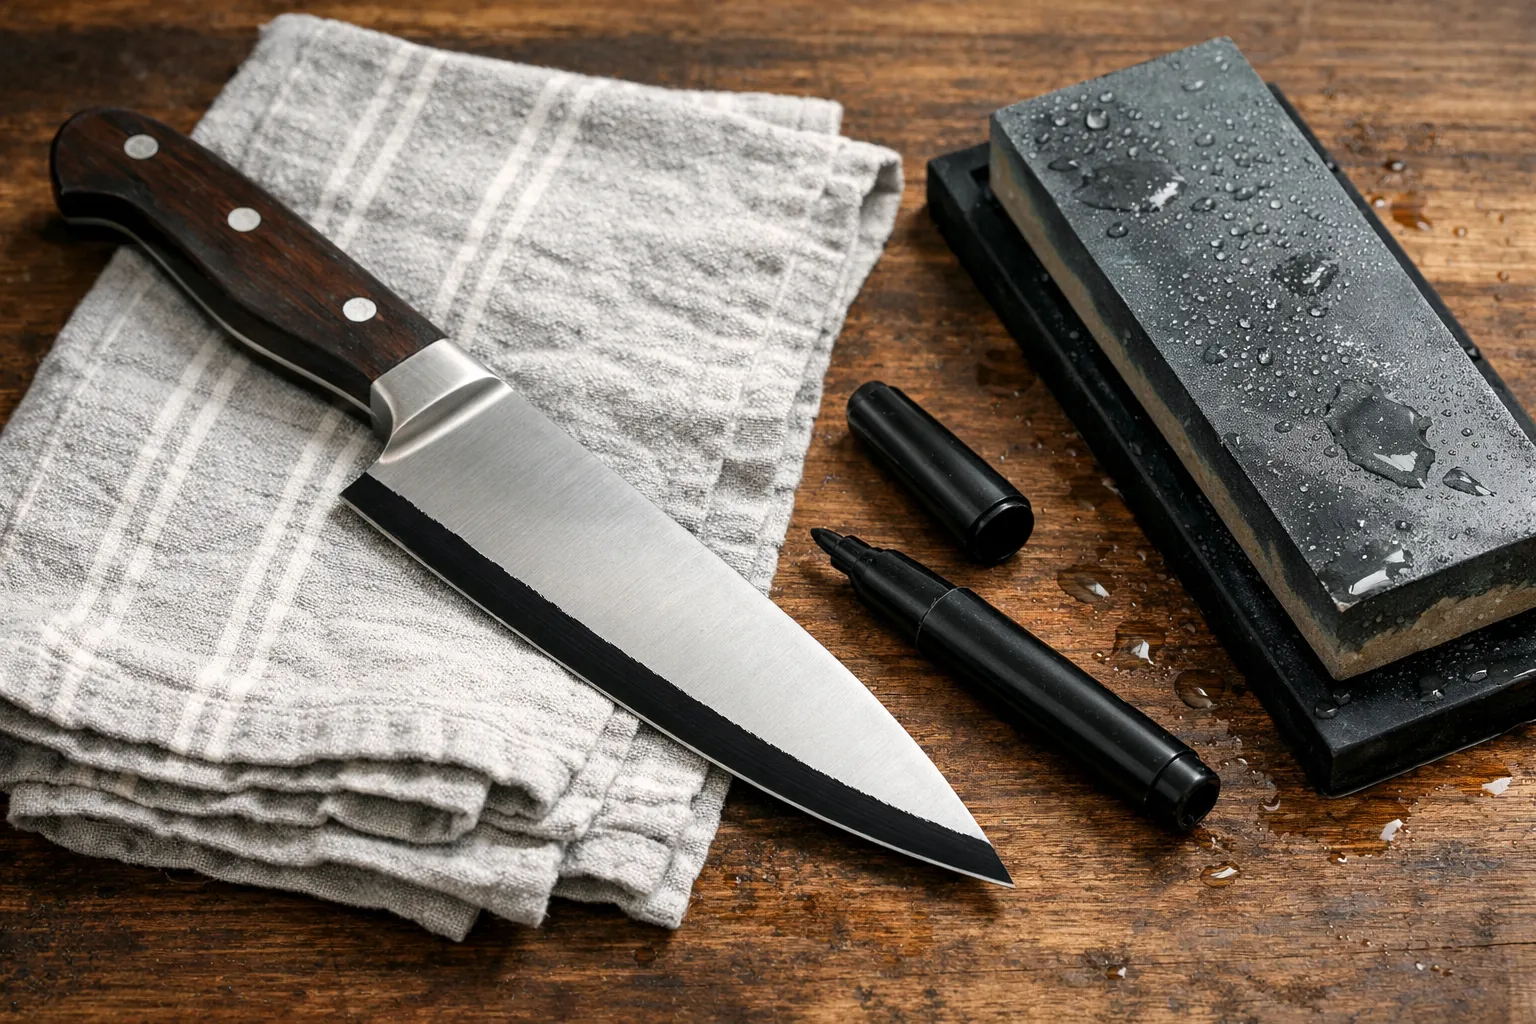
Color the bevel with a permanent marker, make one light stroke at your best-guess angle, and look. Ink gone only at the edge means your angle is too high. Ink gone only at the top of the bevel means it's too low. Ink gone evenly from edge to shoulder means you've matched the bevel that's already there. That's the whole trick, and it's the fastest way to stop grinding a new bevel by accident. Tormek calls the same thing its Marker Method. For the angles themselves, start with the knife sharpening angle chart.
How to do it, step by step
- Clean the bevel. Oil and food film keep ink from sticking.
- Color the whole bevel on one side with a permanent marker, from heel to tip, edge to shoulder. Let it dry for a few seconds.
- Set the knife on the stone at your best guess. If you need a starting point, use the spine height from the angle calculator.
- Make one light stroke, or two, with almost no pressure. You're testing, not sharpening.
- Tilt the blade under a light and read the bevel. Adjust and repeat until the ink comes off evenly.
- Do the other side. Factory bevels aren't always symmetrical, so don't assume side two matches side one.
Tormek's version, from its "Knife sharpening angles: Manufacturer's recommendations" sheet, is the same in three steps: color the bevel, turn the wheel by hand and check where the coloring is removed, then raise or lower the support "until the coloring is removed from the tip to the heel".
Reading the ink: every pattern and the fix
| What you see | What it means | What to change |
|---|---|---|
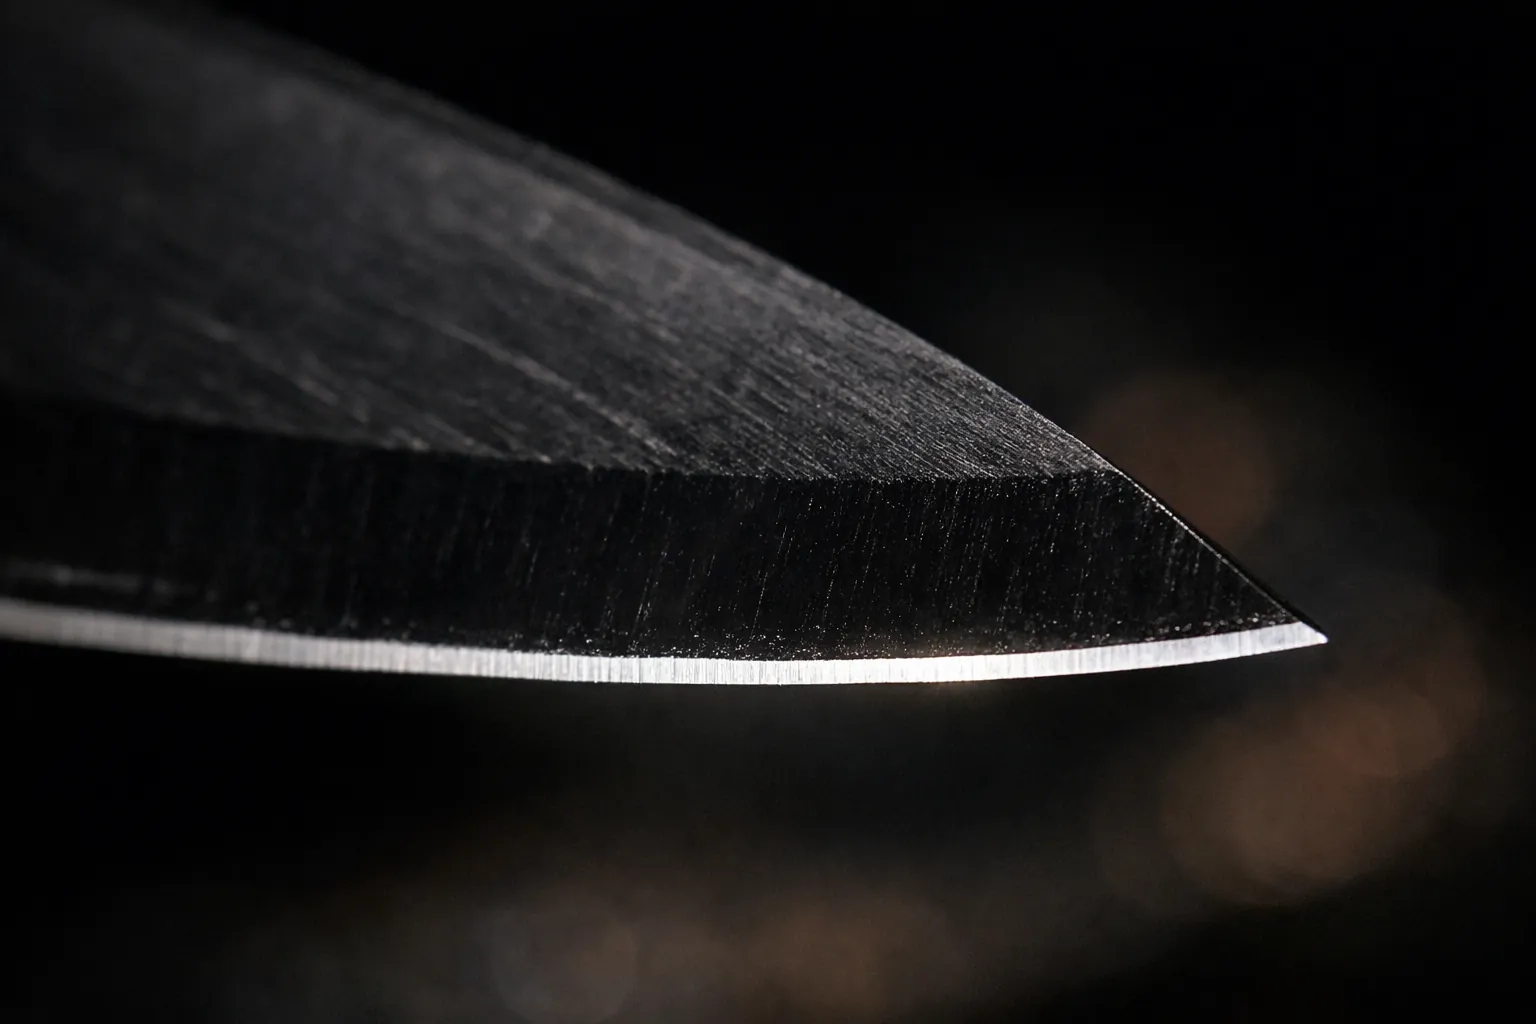
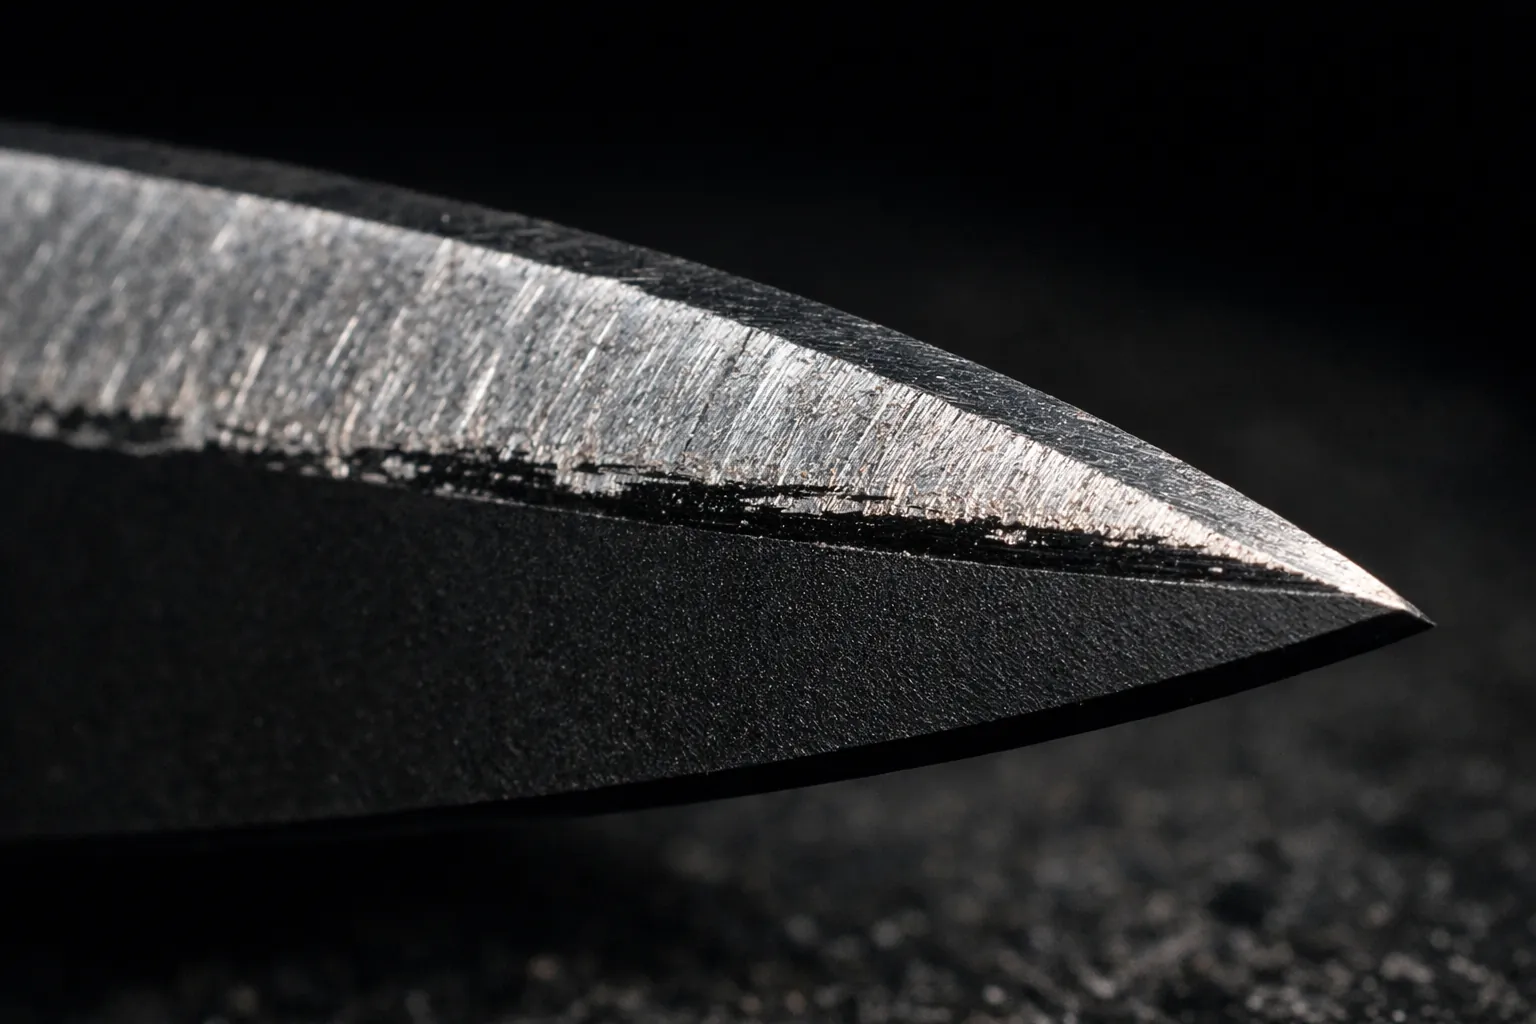
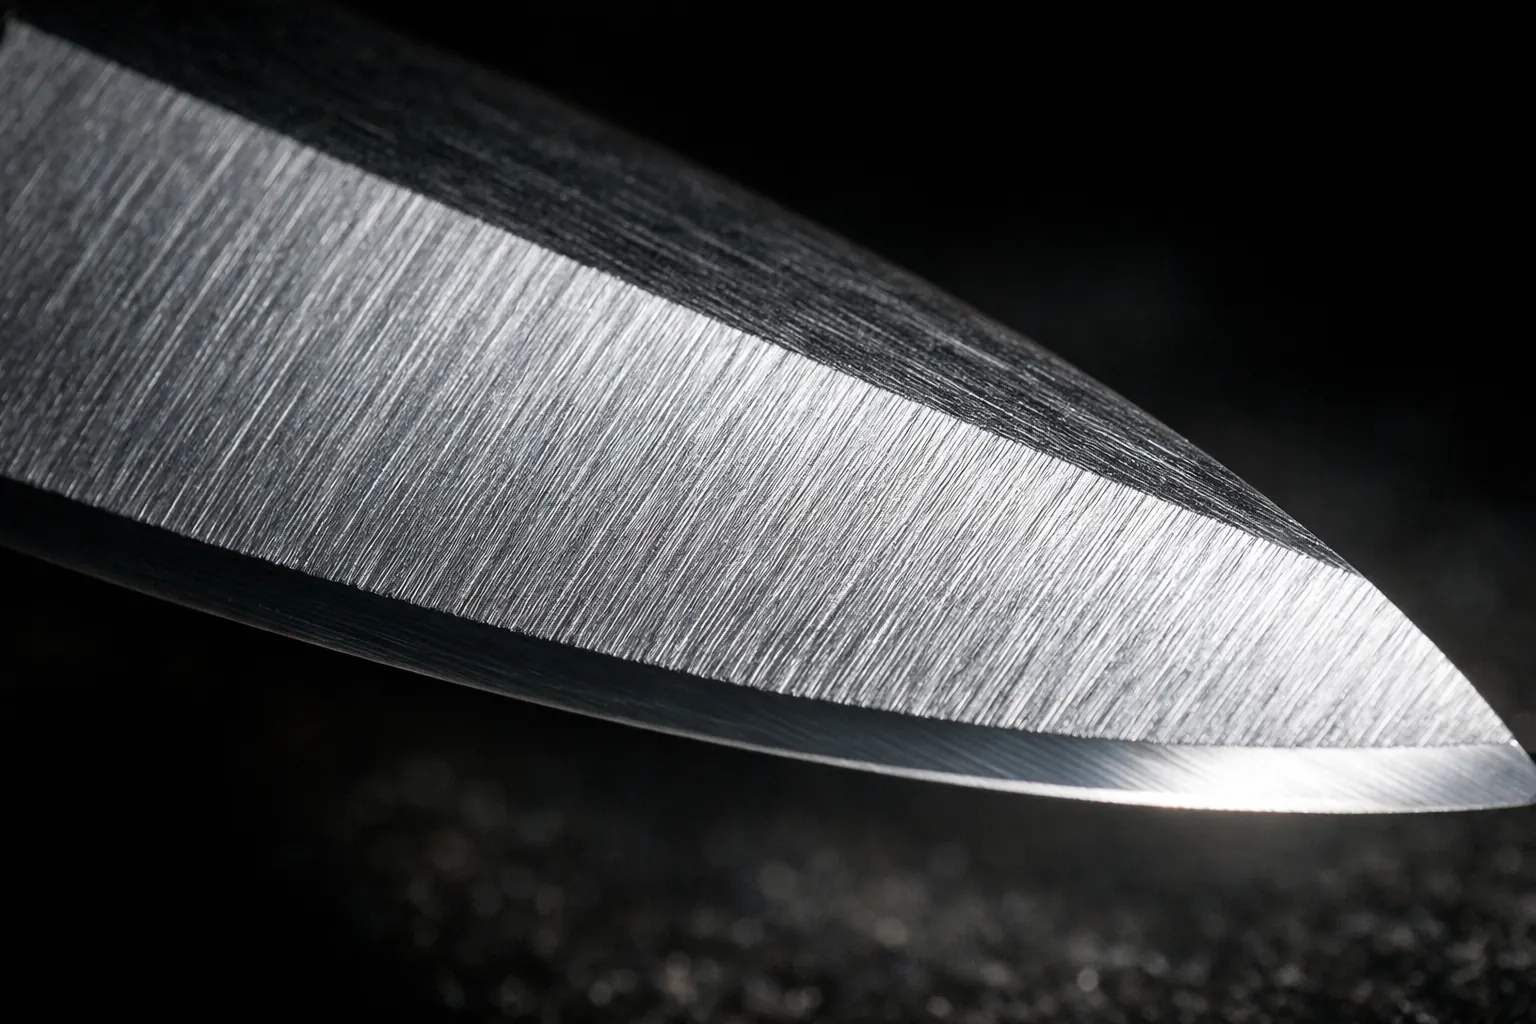
| Thin bright line at the edge, ink above it | Angle too high: only the apex is touching | Lower the spine or the angle setting |
| Ink removed at the shoulder, black stripe at the edge | Angle too low: the stone isn't reaching the edge | Raise the spine or the angle setting |
| Ink gone evenly across the bevel | Matched | Lock it in and sharpen |
| Even at the heel, edge-only at the tip | The blade narrows toward the tip, so the same spine height makes a steeper angle there | Drop the spine slightly as you move toward the tip |
| Clean at heel and tip, ink left in the middle | A dished stone, or a bevel that's been hollowed by past sharpening | Flatten the stone; see how to flatten a whetstone |
| Patchy, random streaks | The angle is wobbling during the stroke | Slow down, lock your wrist, or use a guide |
| Side one matched at a different height than side two | The factory bevel is asymmetric | Match each side separately at first; even them out over a few sessions |
Using it on different sharpeners
The trick works on anything abrasive. What changes is what you can adjust.
| Sharpener | What you adjust | Tip |
|---|---|---|
| Whetstone, freehand | Spine height | Once matched, notice what the gap under the spine looks like, or slip a coin stack under it to remember |
| Clamp system (Lansky, Work Sharp Precision Adjust) | Angle setting | Step one degree or one hole at a time; the setting that cleans the bevel evenly is your factory angle (on a Lansky, see how to use a Lansky sharpener for the full routine) |
| Spyderco Sharpmaker | 30° or 40° slots | If neither matches, pick 30° to reset the bevel, then use 40° for touch-ups |
| Belt sharpener (Work Sharp Ken Onion, MK2) | Angle guide | Run the belt by hand or at the lowest speed for the test pass |
| Rolling sharpener (15°/20° magnet) | Which side of the magnet | Test both; use the side that cleans the bevel, or accept the new angle on purpose |
| Pull-through or electric | Nothing | The trick only tells you whether the slot matches your knife. If it doesn't, the first few pulls are regrinding the bevel |
On a clamp system this turns into a precise measurement. On a Work Sharp Precision Adjust, which sets any whole degree from 15 to 30, you can find the factory angle to within one degree in a couple of minutes. Our best sharpening system guide compares clamp systems if you want one. The marker works on improvised surfaces too, like sandpaper or the rough ring under a mug; see sharpening a knife without a sharpener.
Turning the result into a number
Once the ink comes off evenly freehand, you know the right height but not the angle. Two measurements give you the angle:
- the blade width from edge to spine where it touches the stone (W)
- the height of the spine above the stone while you hold that matched position (h)
Angle per side = asin(h ÷ W). A 50 mm wide blade matched with the spine 12.9 mm up is asin(0.258), or about 14.95°. The calculator's spine height to angle mode does this for you and corrects for spine thickness if you measured under the spine with coins. Write the number down for each knife. The printable angle chart has the maker's figures to compare against.
Mistakes that make the ink lie
- Pressing hard on the test stroke. Pressure flexes thin blades and smears the reading.
- Testing on a muddy stone. Slurry polishes the ink off where the stone isn't really cutting; wipe the surface first.
- Reading it in flat light. Tilt the blade toward a window or lamp so the scratches show up.
- Using washable ink. It wipes off on the water film and you'll read nothing.
If the reading says you're on the bevel but the knife still won't get sharp, the angle isn't the problem; the burr is. Our how to use a whetstone guide covers raising and removing it. So does our burr guide, step by step.
What you need
A permanent marker and your sharpener. That's it. If you want something that holds the matched angle once you've found it, a clip-on SHARPAL 194H whetstone angle guide fixes the spine height for freehand work (we compare it with wedges and digital gauges in our best whetstone angle guide roundup), and the Spyderco Sharpmaker gives you two fixed angles to test against.
Marker method steps as described in Tormek's "Knife sharpening angles: Manufacturer's recommendations" (tormek.com, 2020). Angle math is standard trigonometry. Product details from Amazon listings checked October 3, 2026. How we research · Affiliate disclosure