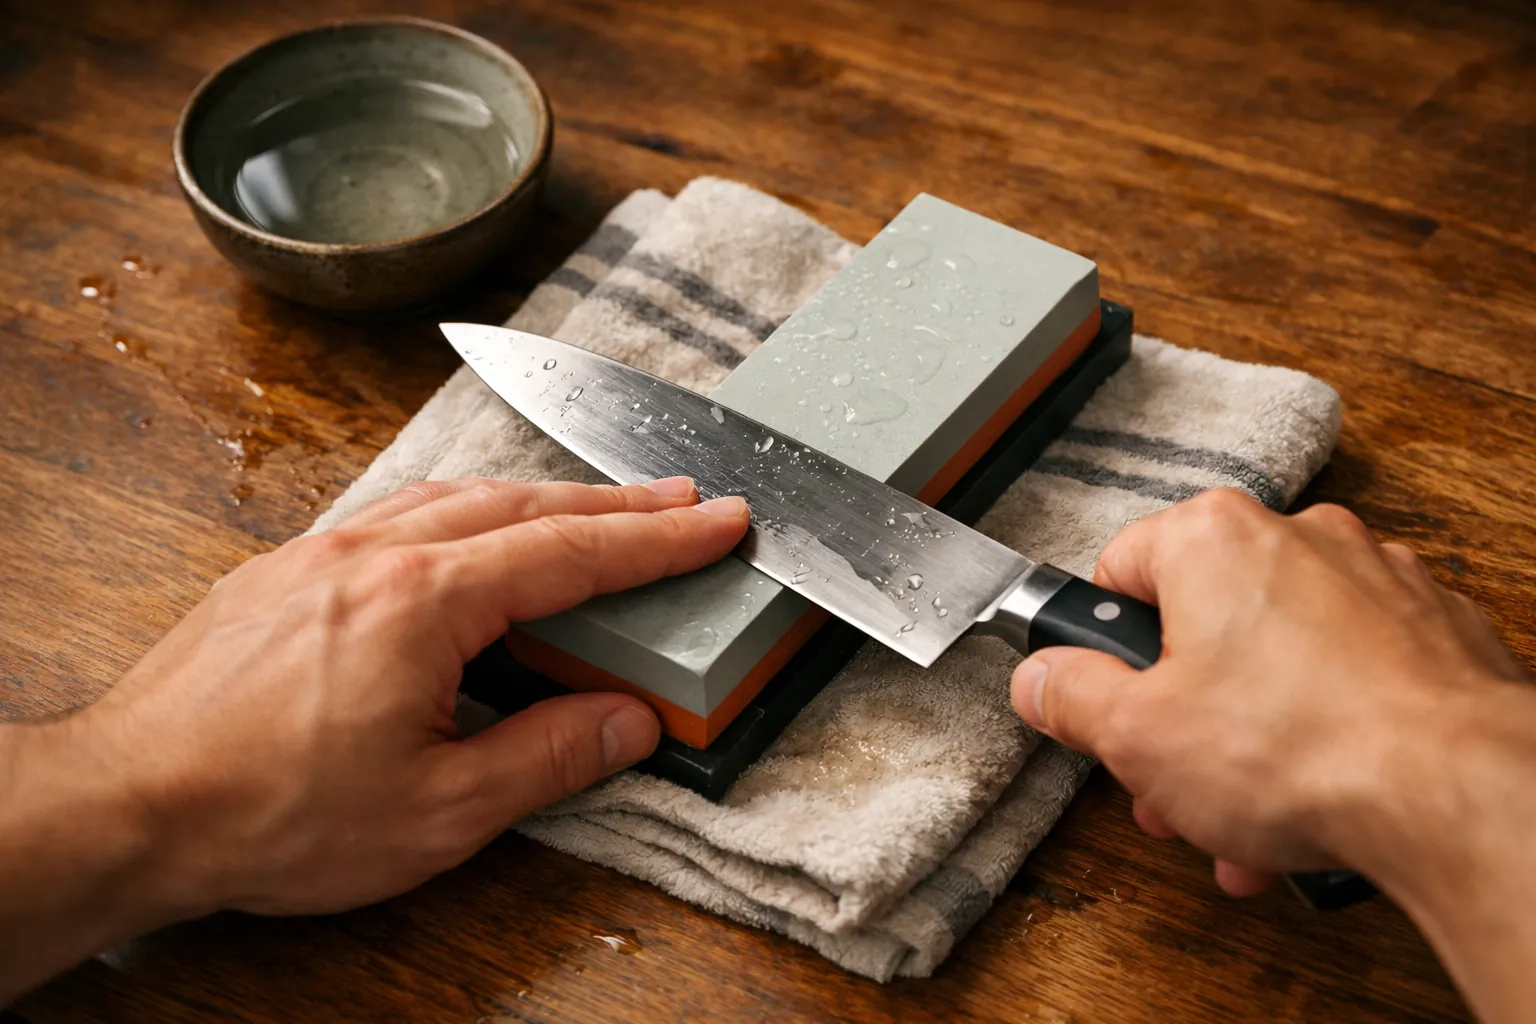
To use a whetstone: soak it (if it's a soaking stone), set it on a non-slip base, hold the knife at a steady angle (around 15° for many Japanese knives, around 20° for many German knives), and stroke one side until you feel a burr along the whole edge. Repeat on the other side, then move to a finer grit and finish by removing the burr. The steady angle is the whole skill; everything else is routine.
What you need
- A whetstone. A 1000/6000 combination stone covers most kitchen knives. The Sharp Pebble 1000/6000 and King KW65 1000/6000 are long-running favorites.
- A non-slip base (most kits include one) or a damp towel folded under the stone.
- Water in a bowl or spray bottle.
- A marker to check your angle (optional but very useful).
- A flattening stone for maintenance. Some kits, like the Sharp Pebble 400/1000, include one.
This guide reflects standard, widely taught whetstone technique. We describe products from their listings and do not claim hands-on testing. How we research.
The method at a glance
Step 1: Soak and set up the stone
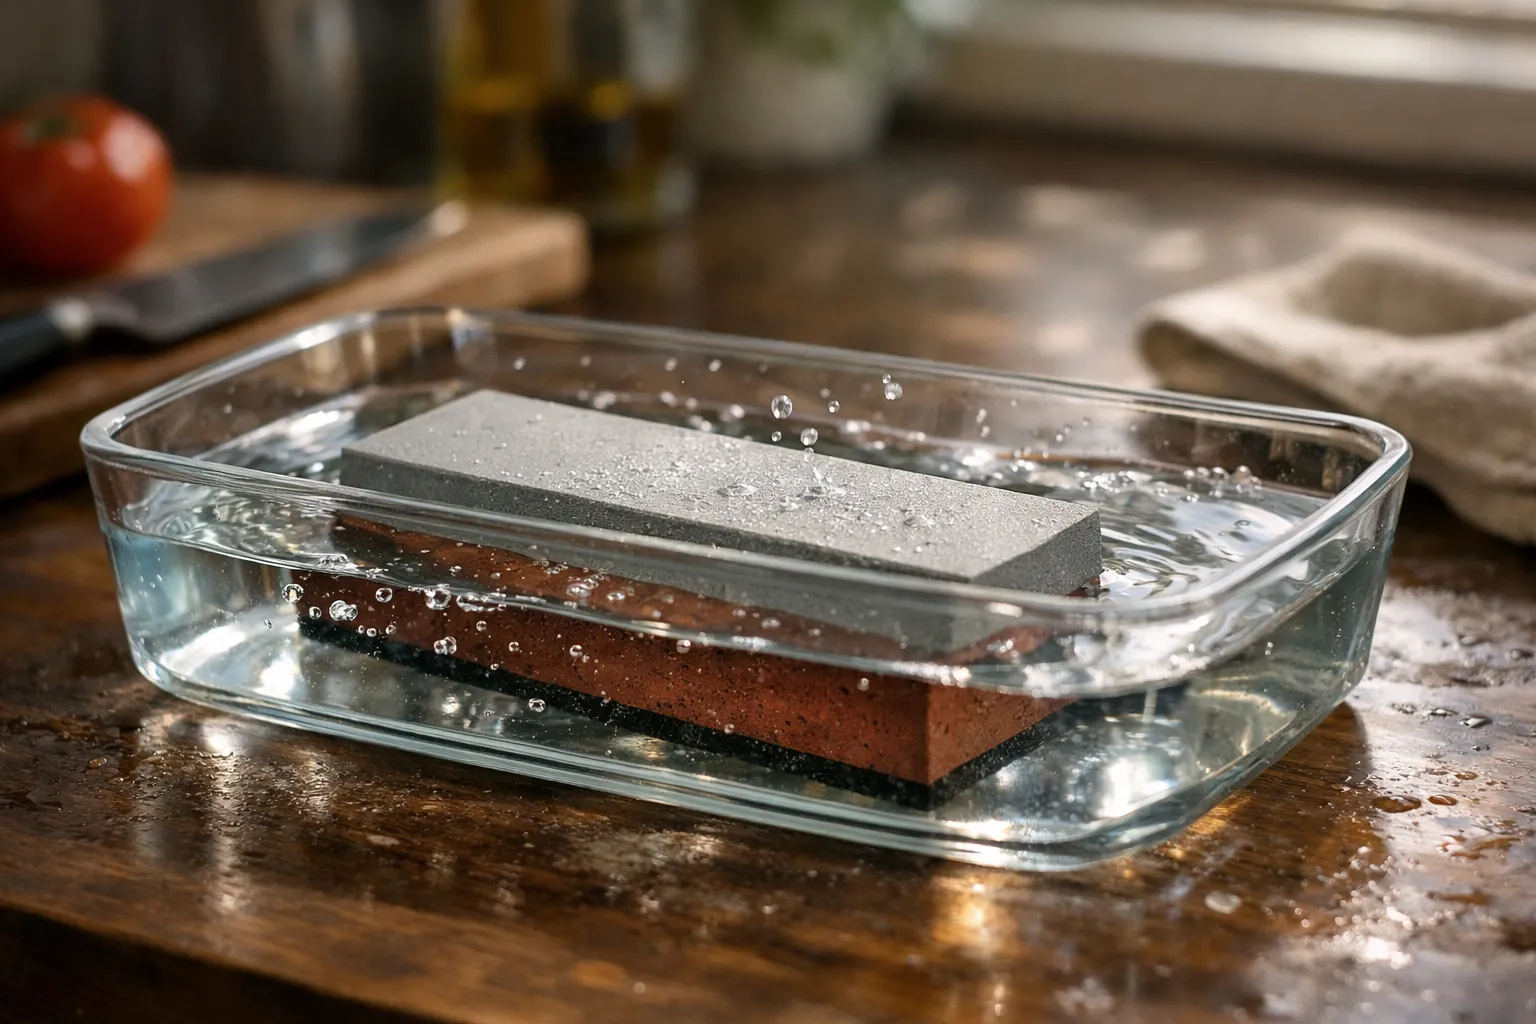
Soaking stones (most budget water stones, including the Sharp Pebble and King) go in water until the bubbles stop, typically 10 to 15 minutes. Splash-and-go stones only need a splash on the surface; check the instructions. Put the stone on its non-slip base or a damp towel, coarse side up, with the long side pointing away from you. Keep water nearby: the surface should stay wet throughout.
Step 2: Find and hold the angle
Hold the handle in your dominant hand with your index finger on the spine or your thumb on the flat near the heel. Lay the blade flat on the stone, then raise the spine until you reach your angle. Many Japanese knives are sharpened around 15° per side and many German and Western knives around 20°; check your knife maker's recommendation.
Two ways to get it right while you learn:
- Spine height: a 2-inch-tall chef's knife at 15° has its spine about half an inch off the stone; at 20°, about two-thirds of an inch. Our angle chart has a full spine-height table.
- An angle guide: a clip-on guide like the SHARPAL 194H sets the spine height for you.
Color the bevel with a marker before your first strokes. If the ink comes off evenly across the bevel, you've matched the existing angle.
Step 3: Sharpen side one until you raise a burr
Place two or three fingertips of your other hand on the blade near the edge, over the stone. Push the knife forward and slightly sideways so the whole edge, heel to tip, passes over the stone, using moderate pressure on the forward stroke and lighter pressure on the return. Work in sections if the knife is long: heel, middle, tip.
Keep going until you feel a burr: a tiny lip of metal folded over to the opposite side. Feel for it by drawing your thumb gently across the edge from the spine side, never along it. When you can feel the burr along the entire length, side one is done.
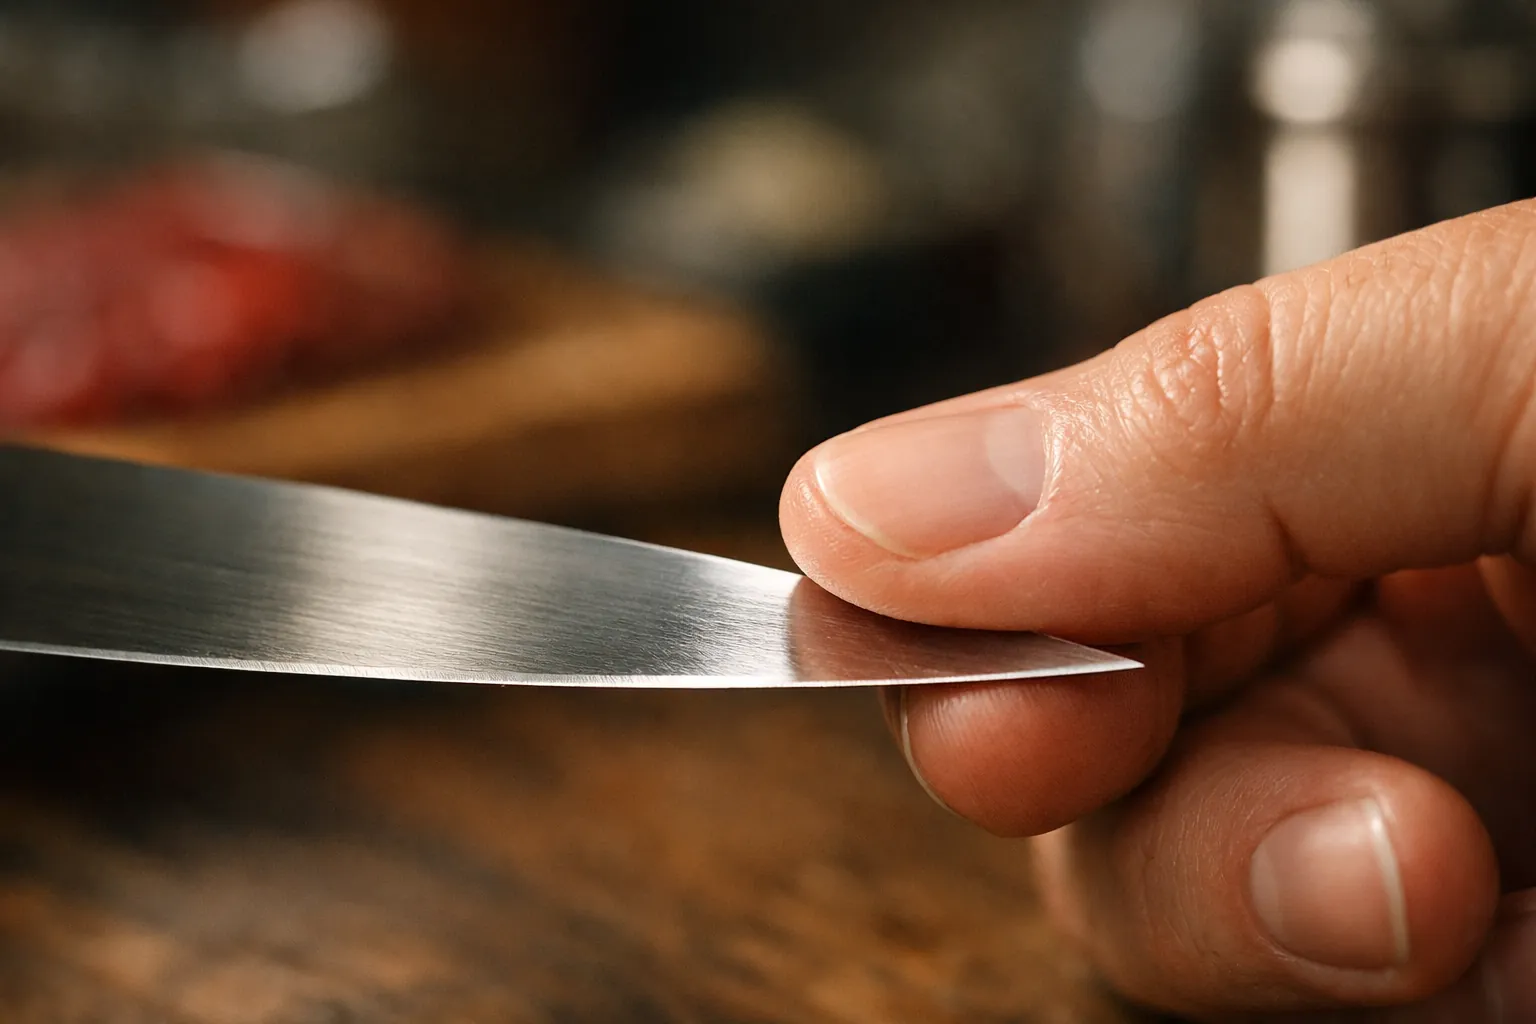
Then flip the knife and repeat on side two at the same angle until the burr flips back to side one. Counting strokes helps keep the sides even.
Step 4: Move to the finer grit
Turn the stone to the fine side (for example 6000), wet it, and repeat step 3 on both sides with lighter pressure and fewer strokes. You're no longer removing much metal; you're refining the scratches left by the coarser grit and shrinking the burr. Check the grit chart if you're unsure which stones to use.
Step 5: Remove the burr and test
Finish with a few very light, alternating single strokes on each side, then a few edge-trailing strokes on a leather strop or even across newspaper or cardboard. Test by slicing a sheet of printer paper: a sharp edge slices smoothly without snagging. A tomato skin is another good test.
Common mistakes (and fixes)
| Problem | Likely cause | Fix |
|---|---|---|
| Knife isn't sharper after sharpening | Never raised a burr | Stay on the coarse side until you feel a burr along the full edge. |
| Edge is sharp in the middle, dull at the tip | Tip not reaching the stone | Lift the handle slightly as you sharpen the curve toward the tip. |
| Edge feels sharp, then dull after one use | Burr left on the edge | Finish with alternating light strokes and a few passes on a strop. |
| Wide, uneven, rounded bevel | Angle wobbling between strokes | Lock your wrist, move from the shoulder; use a guide or the marker trick. |
| Stone surface is dished | Always using the middle | Use the whole length of the stone and flatten it regularly. |
Keep the stone flat
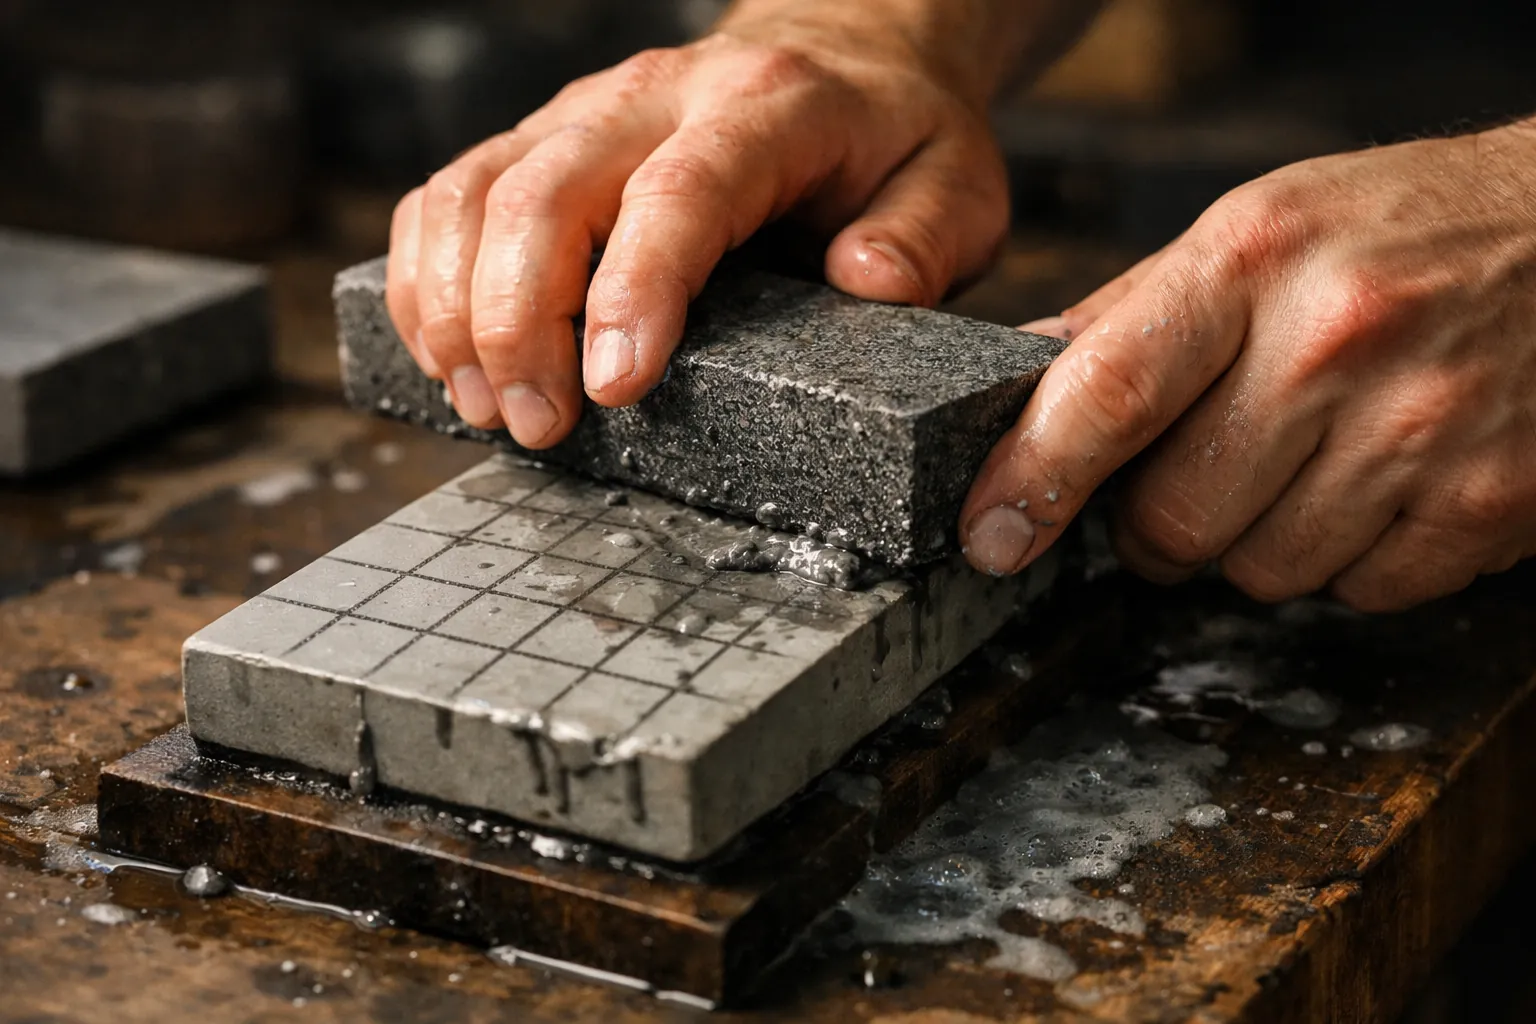
Water stones wear into a shallow dish over time, and a dished stone makes it hard to hold an even angle. Every few sessions, draw a pencil grid on the surface and rub it on a flattening stone or coarse diamond plate until the lines disappear. Several kits include a flattening stone, such as the Intelitopia 400/1000 and 3000/8000 set, which also includes an angle guide and a leather strop.
If freehand isn't working
Some people never enjoy holding an angle by hand, and that's fine. A guided system clamps the knife and holds the angle while you use flat abrasives; see the best sharpening systems or our beginner sharpener picks. And if you're still choosing stones, our whetstone set guide compares the popular kits.
Technique reflects standard, widely taught whetstone practice; product details come from Amazon listings checked October 3, 2026. How we research · Affiliate disclosure