A burr is a thin lip of steel that folds over to the far side of the edge once your stone grinds one bevel all the way down to the other. Raise it on purpose: sharpen side one until you can feel the burr from heel to tip, then side two until it flips back. Then shrink it on a finer grit and take it off with a few light edge-leading strokes and a strop. No burr means the stone hasn't reached the edge yet, and the knife won't get sharp no matter how long you go.
This guide pulls together standard whetstone practice and published electron-microscope work on burrs from the scienceofsharp blog, named where we use it. Tools are described from their Amazon listings, checked Oct 21, 2026; we didn't run our own tests. How we research.
What a burr is
Picture the edge in cross-section as a V. When you sharpen one side, you grind that face of the V lower and lower. At the very tip, the steel gets so thin that it bends away from the stone instead of being ground off. That bent sliver is the burr. Scienceofsharp, which images edges with an electron microscope, defines it as the metal left outside the sharpening triangle, formed when the apex deflects away from the abrasive and isn't ground.
"Wire edge" and "foil edge" mean the same thing, usually the thin version left at the end of sharpening.
How big is it? Scienceofsharp measured burrs by grit. The finer the stone, the smaller the burr:
| Last stone | Burr thickness | Burr length |
|---|---|---|
| 120 grit | at least 3 microns | not given |
| 1000 grit | about 1.5 microns | about 5 microns |
| 3000 grit | nearly 1 micron | 3 to 4 microns |
| 12000 grit | about 0.4 micron | about 1 micron |
Source: scienceofsharp, "What is a burr? part 3" (2025). In a separate post, a knife sharpened on a DMT Fine plate had a burr 30 microns long, bent 15 microns to the side. That's the kind you can feel.
How to raise a burr
- Color the bevel with a permanent marker. A few test strokes show whether you're on the bevel; the sharpie trick explains how to read it.
- Start on the coarse side. For most kitchen knives that's a 1000 stone like the Sharp Pebble 1000/6000. A chipped or very dull knife goes faster on something coarser.
- Sharpen side one only. Hold a steady angle with moderate pressure and cover the whole edge. Work a long blade in sections: heel, middle, tip.
- Count your strokes, and check for the burr every 10 or so. Don't flip the knife until you can feel the burr along the full length, tip included.
- Flip and sharpen side two with the same angle and roughly the same count until the burr has moved back to side one along the whole edge.
Grips and angles for the full stone routine are in how to use a whetstone. This page is just about the burr.
A burr on both sides at once usually means you flipped before the first one was full length, so different sections are at different stages. Keep going on the side that's behind until the burr is consistent, then carry on.
How to feel a burr: five checks
| Check | How | What a burr feels or looks like |
|---|---|---|
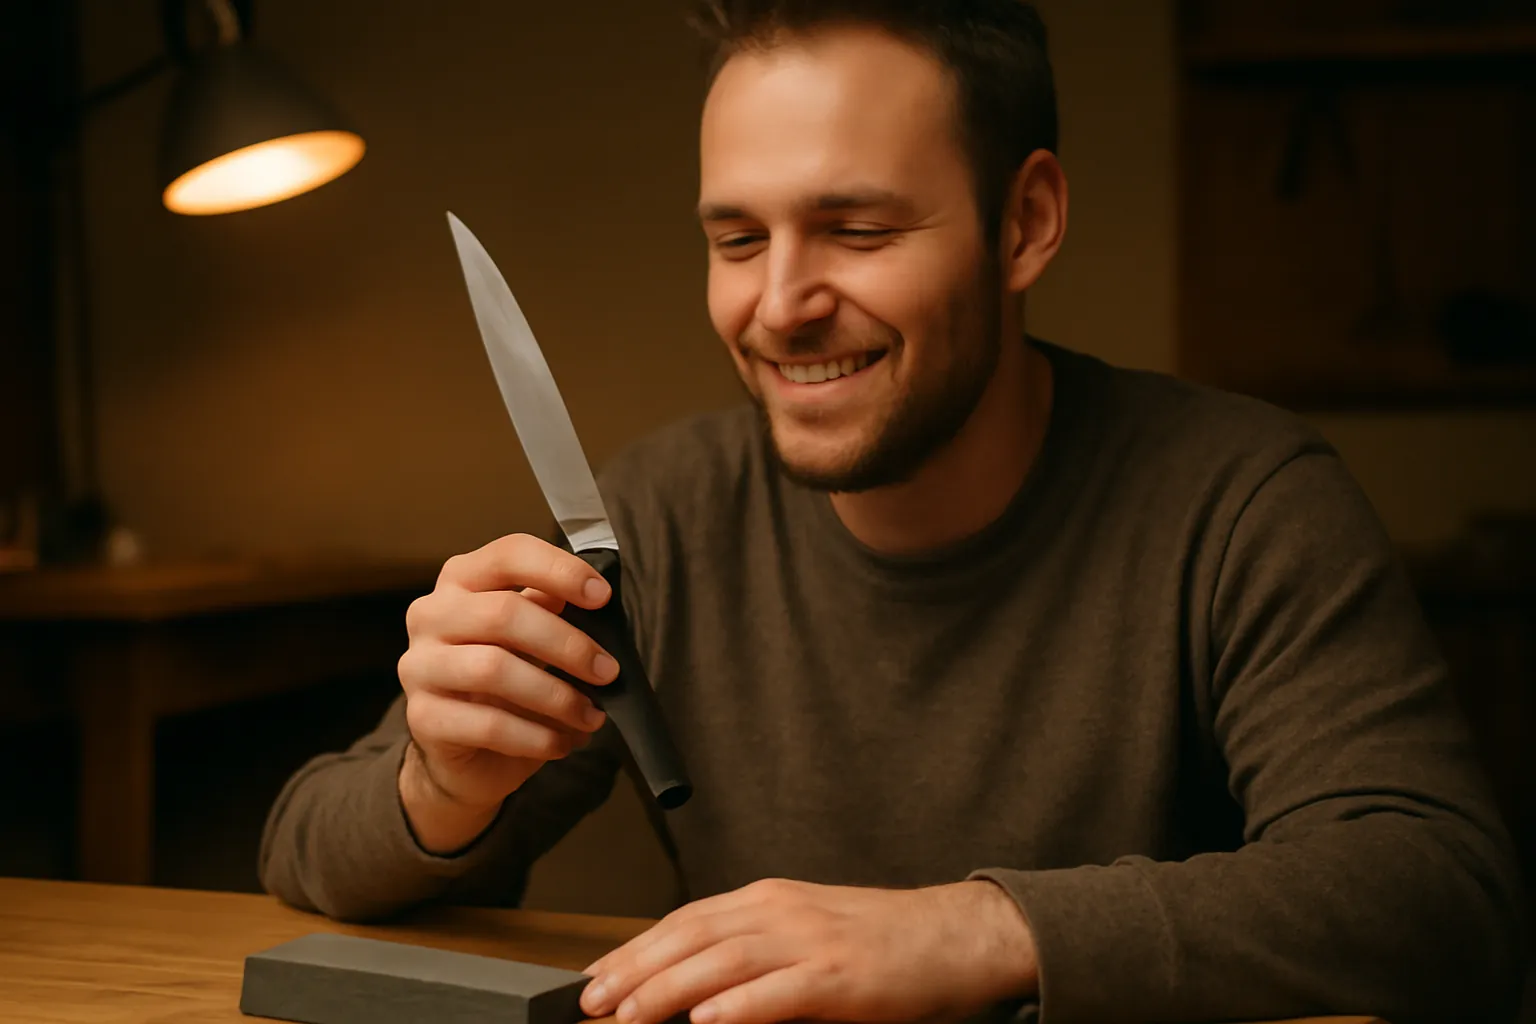
| Thumb | Draw the pad of your thumb gently across the edge, from the spine side off the edge. Never along it. | A slight catch or roughness on the side opposite the one you sharpened |
| Fingernail | Slide a fingernail down the flat and off the edge | The nail snags at the edge |
| Towel or felt | Lightly drag the edge, spine first, across a cotton towel or felt | Threads catch where the burr is |
| Light | Point the edge at a bright lamp and tilt it | Small glints along the edge; a clean apex shows no bright line |
| Loupe | Look along the edge with a jeweler's loupe | A rolled lip on one side |
Feel has a limit. Scienceofsharp's author writes that he can only feel a burr when it's bent about 10 degrees or more, so an upright burr can slip past your thumb. That's where the light and a loupe help. The JARLINK 30x/60x loupe is Amazon's top seller in jewelry loupes, with 30,000+ ratings and a built-in LED. If 30x is hard to hold steady, the GAIN EXPRESS 10x triplet loupe is easier to aim, also with LEDs.
Can't raise a burr? Check these
| What you see | Likely cause | Fix |
|---|---|---|
| Marker gone at the shoulder, still on the edge | Angle too low | Raise the spine a little. Our angle chart has spine heights |
| Burr in the middle, none at the tip | The curve isn't reaching the stone | Lift the handle as you sweep through the belly toward the tip |
| Burr at heel and tip, not the middle | A dished stone | Flatten it; see how to flatten a whetstone |
| Nothing after many strokes, edge has chips or shine | Too much steel to remove for the grit | Drop to a coarser stone, then come back up |
| Very slow on a hard powder-steel knife | The abrasive can't cut the carbides well | A diamond plate; see whetstone vs diamond stone |
| Burr comes and goes | Wobbling angle | Slow down, or use a clip-on guide like the SHARPAL 194H |
How to remove the burr
Most of the work is done before the "removing" step. Every finer grit leaves a smaller burr, as the table above shows, and scienceofsharp's advice is that it's easier to avoid a big burr than remove one. So:
- Shrink it on finer grits. Move to the fine side (a 6000, or whatever finishes your progression) and repeat both sides with lighter pressure and fewer strokes. If you're not sure you need more grits, read is a 1000 grit whetstone enough.
- Alternate single light strokes: one stroke per side, back and forth, a handful of times. Be realistic about what this does: in scienceofsharp's micrographs, light pressure "will rarely remove the burr, but rather align and refine it." It makes the burr smaller and straighter, which is why the next step exists.
- Finish with a few edge-leading passes. Push the edge into the stone, as if slicing a thin layer off the top, one or two very light strokes per side. Scienceofsharp found edge-leading strokes break burrs off more readily than edge-trailing ones.
- Strop: ten or so edge-trailing strokes per side on leather with fine compound. A strop takes off a small finishing burr well; it's slow on a big one, which is why the grit steps come first. Stroke counts and compound are in how to strop a knife, and the SHARPAL 205H or BeaverCraft LS6P1 paddle covers a kitchen knife's length (more in our leather strop picks).
Two shortcuts people swear by work less well than they sound. Slicing into a wood block or a cork knocks off a thin foil burr, but scienceofsharp's ten cuts into maple didn't remove a thick burr from a 400-grit plate. And dragging the edge through cardboard or paper removed a foil burr in their tests while leaving the edge "rolled/folded and visibly damaged."
How to tell the burr is gone
Run the thumb and towel checks on both sides: nothing should catch on either. Hold the edge under a bright light and look straight down at it. A burr or a rounded spot shows as a bright glint; a clean edge almost disappears. Then slice a sheet of printer paper from heel to tip. It should cut quietly with no snag. If one spot snags, that spot still has burr or was never reached.
Is a leftover burr always bad? Not quite. Scienceofsharp points out that the toothy edge off a coarse stone is mostly burr, and an upright, undamaged burr can be surprisingly strong. For a kitchen knife you'll want it gone, though, because a big burr folds over within a few cuts and the knife suddenly feels dull.
Where to go next
Raising a burr along the full edge is the skill that makes every other part of sharpening work. If it's the step that keeps going wrong, the marker trick and a steady angle fix most of it. The grit progression chart tells you when to move to the next stone: only after the burr has run the full length on the current one.
Sources: scienceofsharp, Seven misconceptions about knife burrs (2024), What is a burr? part 3 (2025), part 1 and part 2 (2015), all read Oct 21, 2026. Technique reflects standard whetstone practice. Product details from Amazon listings checked the same day. How we research · Affiliate disclosure